Your Legal Resource
Pov-ray Rotating A Point
I have been working on a file called, for lack of a better name,
AniMaker for POV-Ray 3.1. I am working on a basic tutorial for animation
in the odd way that I have done them. AniMaker is working but it is a
bit primitive and utilizes brute force methods to get the job done.
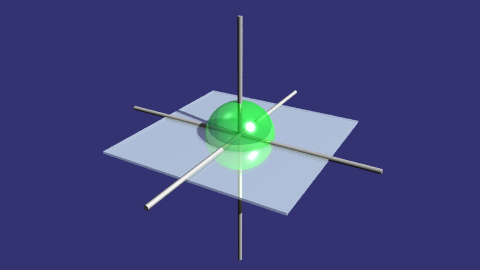
The clock variable can be used anywhere a number can be used, so you can rotate
clock*y with no difficulty.
You might want to look into a more generalized animation technique similar to my
AniMaker file.
If the clock goes from 0 to 1 you can use the following:
#declare Start = <1,4,5>;
#declare End = <2,6,8>;
#declare Position = Start + clock * (End - Start);
This can be adapted for scaling and rotation as well.
1.3.8 Making Animations
There are a number of programs available that will take a series of still image files (such as POV-Ray outputs) and assemble them into animations. Such programs can produce AVI, MPEG, FLI/FLC, QuickTime, or even animated GIF files (for use on the World Wide Web). The trick, therefore, is how to produce the frames. That, of course, is where POV-Ray comes in. In earlier versions producing an animation series was no joy, as everything had to be done manually. We had to set the clock variable, and handle producing unique file names for each individual frame by hand. We could achieve some degree of automation by using batch files or similar scripting devices, but still, We had to set it all up by hand, and that was a lot of work (not to mention frustration... imagine forgetting to set the individual file names and coming back 24 hours later to find each frame had overwritten the last).
Now, at last, with POV-Ray 3, there is a better way. We no longer need a separate batch script or external sequencing programs, because a few simple settings in our INI file (or on the command line) will activate an internal animation sequence which will cause POV-Ray to automatically handle the animation loop details for us.
Actually, there are two halves to animation support: those settings we put in the INI file (or on the command line), and those code modifications we work into our scene description file. If we have already worked with animation in previous versions of POV-Ray, we can probably skip ahead to the section "INI File Settings" below. Otherwise, let's start with the basics. Before we get to how to activate the internal animation loop, let's look at a couple of examples of how a couple of keywords can set up our code to describe the motions of objects over time.
1.4.3.1 How do I turn animation on?
"How do I turn animation on? I have used the clock variable in my scene, but POV-Ray still only calculates one frame."
The easiest way is to just specify the appropriate command line parameter on the command line or in the command line field in the rendering settings menu (in the Windows version). For example, if you want to create 20 frames, type this: +kff20
This will create 20 frames with the clock variable going from 0 to 1. The other command-line parameters are found in the POV-Ray documentation.
Ken Tyler has also another good solution for this:
In the directory that you installed POV-Ray into you will find a subdirectory called scenes and another inside that called animate. You will find several example files showing you how to write your scene to use the clock variable. You will still need to activate POV-Ray's animation feature by using an .ini file with the correct info or with command-line switches. I personally like to use the ini file method. If you try this open the master povray.ini file from the tools menu and add the following lines:
;clock=1
;Initial_Frame=1
;Final_Frame=20
;Cyclic_Animation = on
;Subset_Start_Frame=6
;Subset_End_Frame=9
Save the file and close it. When you need to use the animation feature simply go in and edit the povray.ini file and uncomment out the functions you want to use. At a minimum, you will need to use the initial_frame and final_frame options to make it work. Once you have stopped rendering your series of frames be sure to comment out the clock variables in the ini file. After you have rendered a series of individual frames you will still need to compile them into the animation format that you wish to use such as AVI or MPEG. See our links collection on our website for programs that can help you do this. POV-Ray has no internal ability to do this for you except on the Macintosh platform of the program.
The Mac version normally does not use .ini files and lacks any command line, but uses a completely graphical interface instead. To activate animation, choose the render settings item from the Edit menu (right under "Preferences", it will be titled "FILENAME Settings", where FILENAME is the name of your file), click on the Animation tab, and enter the needed information in the text boxes.